Why We Choose Flywheel
At WestSky, we set all our clients up with robust and secure website hosting by Flywheel. Not only do they have outstanding customer service and collaboration features, their plans offer affordable hosting that can scale with your websites needs. Think of the Tiny plan like buying the smallest house in a million-dollar neighborhood. In this guide, we’ll walk you through setting up your Tiny Plan on Flywheel and sharing collaboration access.
Table of Contents
- Introduction to Flywheel Tiny Plan
- Creating Your Flywheel Account
- Setting Up Your Tiny Plan
- Sharing Collaboration Access
- Conclusion
The Flywheel Tiny Plan
Flywheel’s Tiny Plan is designed for those who need reliable hosting with essential features at an affordable price. This plan includes 5 GB of disk space, 20 GB of bandwidth, and one WordPress install, making it perfect for author and business websites.
Creating Your Flywheel Account
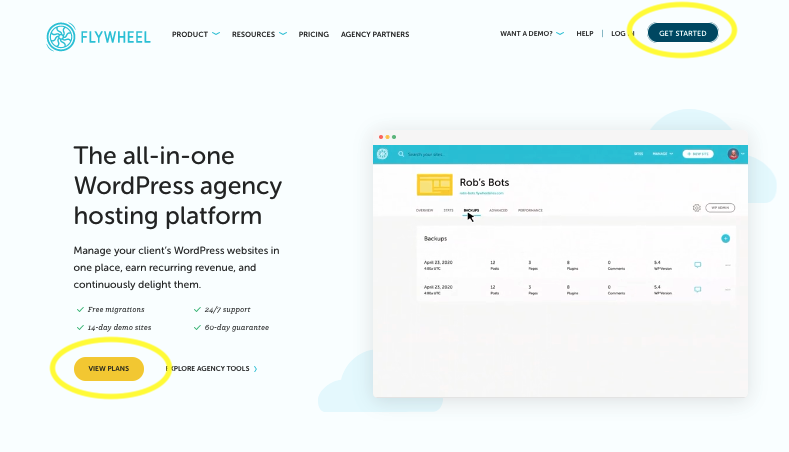
- Visit the Flywheel Website: Go to getflywheel.com and click on the “Get Started” button.
- Sign Up: Enter your email address, choose a password, and fill out your personal information to create an account.
- Verify Your Email: Check your email inbox for a verification email from Flywheel. Click on the link provided to verify your account.
- Log In: Once verified, log in to your Flywheel account to access the dashboard.
Setting Up Your Tiny Plan
- Choose Your Plan: In the Flywheel dashboard, navigate to the “Plans” section and select the Tiny Plan.
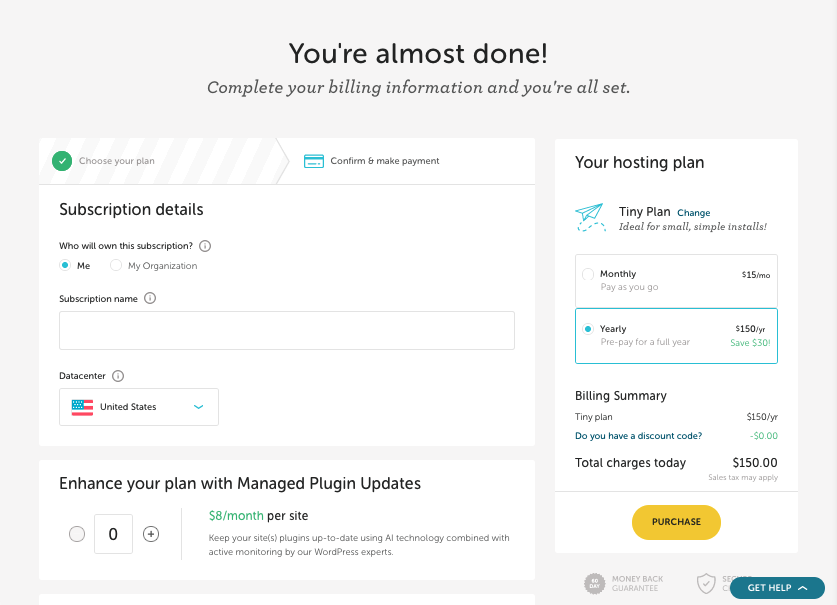
- Enter Site Details: Fill in your site name, temporary domain, and WordPress username and password. Be sure to record this information in a secure place.
- Choose Data Center: Select the data center closest to your primary audience to ensure faster load times.
- Complete Purchase: Enter your payment information and complete the purchase process. (We do not recommend the AI plugin updates option as it can cause update problems we can’t address.)
- Site Creation: Flywheel will automatically create a base WordPress site. This may take a few minutes.

Sharing Collaboration Access
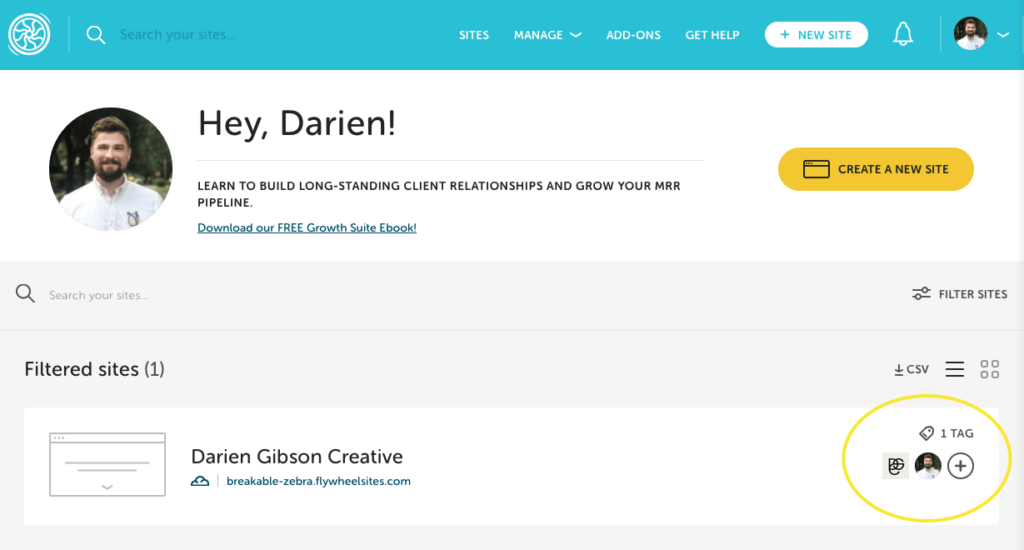
- Go to Your Flywheel Dashboard: Log in to your Flywheel account and navigate to your site dashboard.
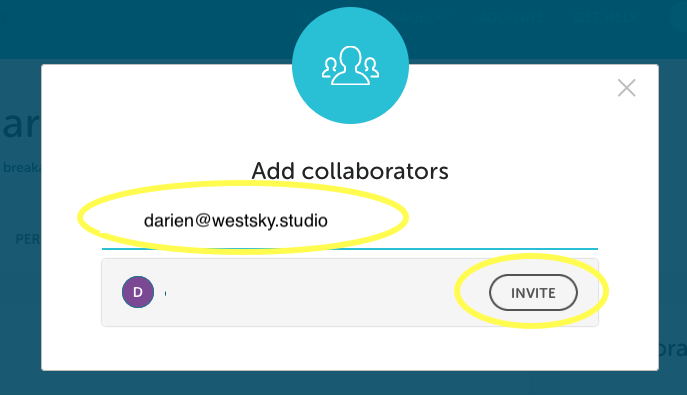
- Invite Collaborators: Click on the “Collaborators” tab and enter the email address
darien@westsky.studio. - Set Permissions: Choose the level of access you want to grant. Typically, collaborators are given access to manage the site without billing access.
- Send Invitation: Click “Send Invitation.” An email will be sent to the collaborator, allowing them to join and access the site.
- Confirm Access: Once the invitation is accepted, confirm that the collaborator has the appropriate permissions and access to the site.
You’re All Set!
Thank you for taking the time to walk through these steps and make this process simpler! If you haven’t already, or if we have already made other arrangements, be sure you share access or login information for your domain. We will need that in order to connect it to your new website!
If you have any more questions, feel free to reach out to darien@westsky.studio

